A vintage game cartridge that suddenly stops loading can look like a lost cause, but grime or oxidation on its contacts may be the problem. Knowing how to clean vintage game cartridges helps you troubleshoot common read errors while protecting the label, shell, and circuit board. The key is to start gently: a cartridge can be old and delicate even when its plastic shell looks tough.
Before you reach for a cleaning solution, check whether the cartridge is actually the source of the trouble. A dirty console connector, a loose connection, or a worn component can cause similar symptoms. A careful inspection and a small amount of cleaning are often more useful than aggressive scrubbing.
How to clean vintage game cartridges without damaging them
For routine cleaning, gather a few simple supplies:
- High-purity isopropyl alcohol, preferably 90% or higher
- Lint-free swabs or a clean, soft cloth
- A bright light for inspecting the contacts
- A clean, dry work surface
Keep liquids away from the cartridge label and avoid household cleaners, oils, metal polish, and abrasive pads. These can leave residue, cloud plastic, lift label edges, or wear away the contact plating. Don’t use a pencil eraser as a default cleaning tool. Its friction can remove material, and crumbs may remain inside the cartridge.
1. Inspect before opening the cartridge
Remove the cartridge from the console and examine it under good light. Look for dust, sticky residue, corrosion, bent contacts, cracks, or a shell that has come apart. Check the label for loose corners or moisture damage. If you see green or white crust, deep pitting, or a contact that appears bent, stop before applying pressure. Heavy corrosion or physical damage may need more careful repair.
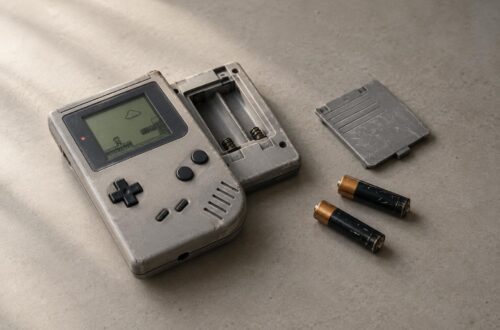
Try the game in a known-working console, if you have one, and test another game in the original console. This simple comparison can help separate a cartridge problem from a console problem. Don’t repeatedly push, wiggle, or force a cartridge to make it work. That can put extra strain on the cartridge and the console connector.
2. Clean the exposed contacts
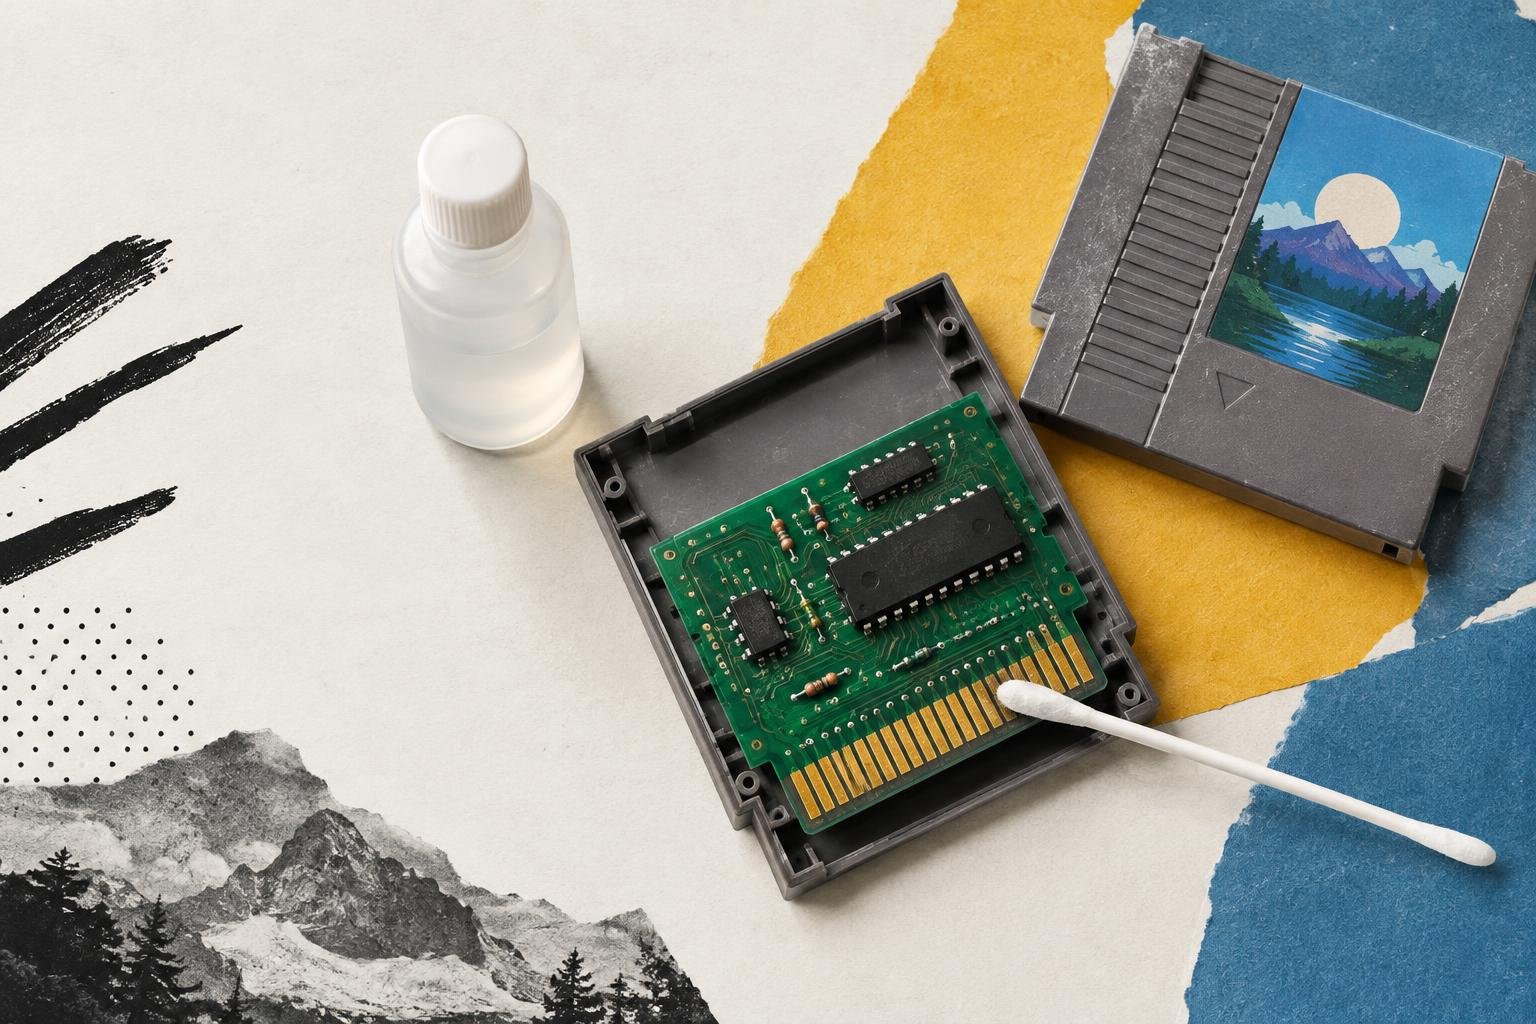
Put a small amount of isopropyl alcohol on a lint-free swab. The swab should be damp, not dripping. Gently wipe the exposed metal contacts in one direction, then use a clean part of the swab to lift away any residue. Avoid pressing hard or repeatedly scrubbing the same spot.
Use a dry swab or soft cloth to pick up remaining moisture, then let the cartridge air-dry completely before testing it. Don’t blow into the cartridge. Breath introduces moisture, and it won’t remove grime that’s stuck to the contacts. Also avoid inserting a wet swab into the console’s cartridge slot; console connectors can be difficult to reach and dry safely.
3. Clean the shell separately
For fingerprints and loose dust on the plastic shell, use a soft, slightly damp cloth. Keep moisture away from seams, openings, and the label. If the label is lifting, brittle, or especially valuable, clean around it rather than over it. A cartridge can be playable and collectible at the same time, so preserving its original finish matters.
Let the shell dry before putting the game away. Don’t soak the cartridge or rinse it under a tap. Water can enter through openings and remain trapped inside, where it may damage the board or contacts.
When to open a cartridge
If gentle external cleaning doesn’t help, opening the shell can make the circuit board easier to inspect. This isn’t necessary for every cartridge, and the screws may require a security bit made for that cartridge family. Use the correct tool rather than forcing a mismatched screwdriver, which can damage the screw head or crack the shell.
Before opening anything, check for model-specific differences and consider whether the cartridge is rare or especially valuable. Some cartridges contain a battery that keeps save data. Opening the shell does not automatically erase a save, but a weak or failing battery can put saved progress at risk. If preserving a save is important, avoid unnecessary handling and seek help from someone familiar with that cartridge type.
Once open, handle the board by its edges and avoid touching components more than necessary. You can inspect both sides for dust, corrosion, loose parts, or battery leakage. Clean accessible contacts with a lightly dampened swab as described above, and allow everything to dry fully before reassembly. If you see damaged traces, severe corrosion, or residue from a leaking battery, routine contact cleaning may not be enough. Don’t scrape the board or apply liquid indiscriminately.
Common cleaning mistakes to avoid
- Using too much liquid: A saturated swab can carry fluid into the shell and onto the board.
- Scraping contacts: Knives, files, and abrasive materials can damage the metal surface.
- Cleaning the console slot with improvised tools: Sticking objects into the connector can bend or damage its pins.
- Testing before the cartridge is dry: Give any alcohol time to evaporate before inserting the game.
- Ignoring physical wear: Cleaning won’t repair a cracked shell, broken trace, failing battery, or damaged connector.
Repeated read errors after careful cleaning can point to a problem beyond surface dirt. Try the cartridge in another compatible console, and test another cartridge in the console you’ve been using. If the same game fails in multiple systems, or if other games also fail in one system, the next step may be a repair rather than more cleaning.
How to keep cartridges in good condition
Store cartridges in a cool, dry place away from direct sunlight, damp basements, and dusty floors. Keep them upright or in protective cases, and avoid stacking heavy objects on top of loose cartridges. Hold a cartridge by its shell when inserting or removing it, not by the contacts.
Clean only when there’s a reason, such as visible grime or unreliable reading. Frequent cleaning adds handling and friction without guaranteeing better performance. For a collection, a quick inspection and careful storage are usually better habits than routine polishing.
With a gentle approach, you can remove ordinary grime without sacrificing a cartridge’s condition. Inspect first, use minimal moisture on the contacts, and give the game time to dry. If the problem remains, stop and investigate the cartridge or console rather than scrubbing harder.