A used Game Boy checklist can help you look beyond a polished listing and assess the details that affect play, condition, and value. You might be choosing a pocket-size classic, a color-screen model, or the original gray handheld that started it all.
The goal isn’t necessarily to find a flawless console. A scratched shell can be perfectly playable, while a handsome-looking unit may have a dim screen, unreliable buttons, or battery damage. Decide what matters to you before money changes hands.
Choose the Game Boy model that fits your plans
Start by deciding how you want to use the handheld. The original Game Boy, commonly identified as the DMG-01, has a monochrome display and a large, distinctive shape. The Game Boy Pocket is smaller and lighter, while the Game Boy Color adds a color display and plays compatible original Game Boy games as well as its own library.
These differences affect more than appearance. Older monochrome screens rely on ambient light, so they can be harder to see in dim rooms. The Game Boy Color doesn’t have a built-in front light. Battery type and condition also vary by model, so check the specific console rather than assuming every Game Boy behaves the same way.
- For the original look: Consider a DMG-01, but expect a larger unit and a screen that needs good lighting.
- For portability: The Pocket has a slimmer body and a different screen presentation.
- For a broader game library: A Game Boy Color plays compatible monochrome games and Color titles.
Be wary of listings that use “Game Boy” as a catchall without showing the model. Ask for a clear photo of the front and the model information on the back. Decide whether you want an original, unmodified console or would be comfortable with a replacement shell or upgraded screen. Modifications aren’t automatically a problem, but they should be disclosed and reflected in the asking price.
Use this used Game Boy checklist to inspect the screen
The display is one of the most important parts to check, and a still photograph can’t tell you everything. Ask for a short video showing the console powering on, starting a game, and displaying a few different screens. A plain menu or title screen makes it easier to spot missing segments, discoloration, flicker, and image persistence.
Look for vertical or horizontal lines, blotches, dead areas, or marks that remain visible after the image changes. Some screen problems may be repairable, but repairs take time, skill, or additional parts. Don’t assume a defect is an easy fix unless you know how to handle it and have budgeted accordingly.
For a monochrome model, ask the seller to demonstrate the contrast control. The picture should change as the dial moves. A dim display could have several causes, so treat it as a condition issue rather than diagnosing it from a listing. For a Game Boy Color, inspect the screen in even lighting and check for scratches or uneven patches that interfere with play.
If you’re buying in person, view the screen from a normal playing angle. A display that looks acceptable in a carefully lit seller photo may be uncomfortable to use at home. Ask whether the screen has been replaced or modified, and request details about the work if it has.
Test the controls, sound, and power
Ask the seller to test more than the power switch. During a live inspection, press the directional pad in every direction and try each action button several times. Buttons should respond consistently. A control that works only when pressed hard may need attention, and a stuck or mushy button can make a game frustrating even if the console looks clean.
Check the Start and Select buttons, speaker, and volume control. Listen at low and higher volume settings for crackling, distortion, or sound that cuts out. If the model has a headphone jack, testing it can reveal a separate issue. Don’t treat an untested jack as confirmed working.
Power the console on and off more than once. Look for a steady image and listen for interruptions as the unit is moved gently. Ask whether the seller tested it with fresh batteries. A weak or mixed set of batteries can create confusing symptoms, so don’t use questionable power as proof that a console is faulty or healthy.
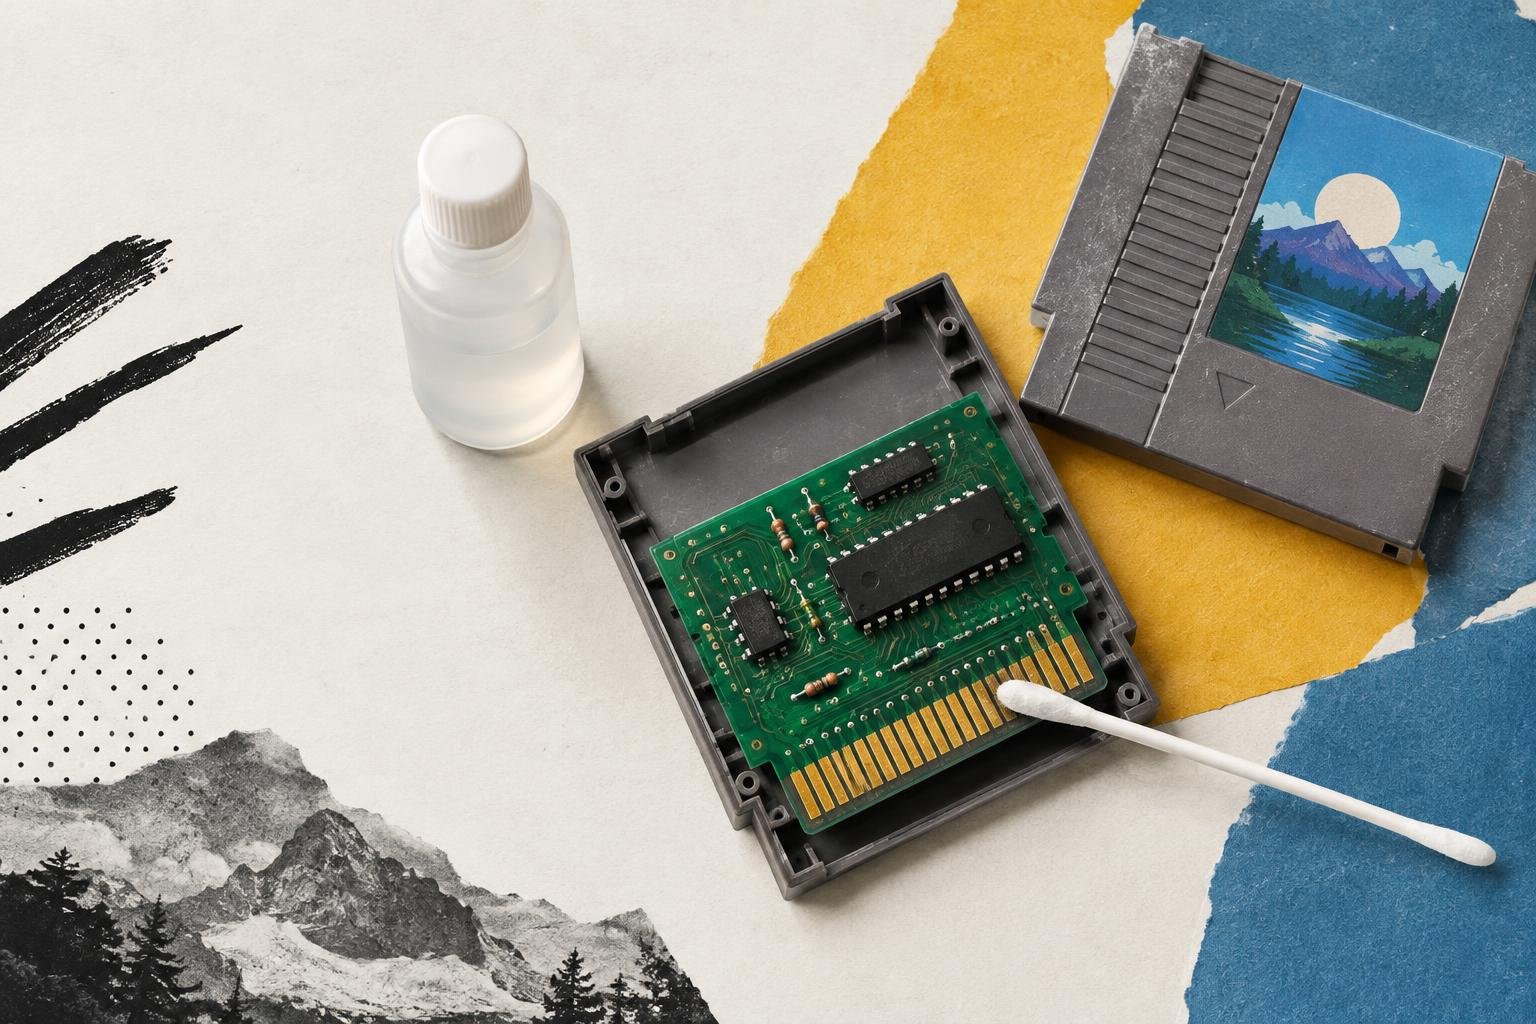
Use a game to check the whole system, including the cartridge slot and gameplay. If you already own a compatible game, bring it along for an in-person purchase. For tips on preparing a game you own, see how to clean vintage game cartridges safely. Don’t force a cartridge into the slot or try to diagnose a console by pushing or bending its contacts.
Check the battery compartment and shell
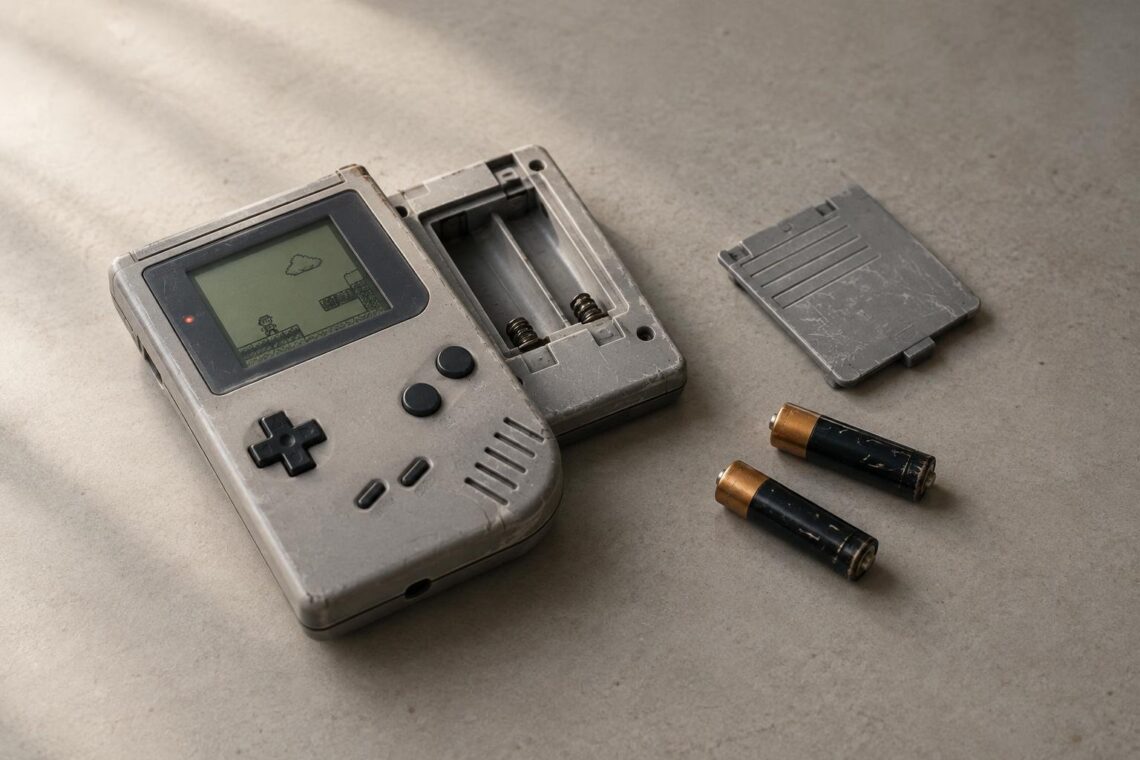
Ask for a close, well-lit photo of the battery compartment with the batteries removed. Look for white or blue-green residue, rust, damaged springs, or staining around the contacts. Battery leakage can spread beyond what’s visible in a photo, and cleanup or repair may require opening the console. If you’re not prepared to do that work, choose a cleaner example or ask a repair professional to assess it.
Inspect the shell for cracks, missing pieces, deep impact marks, and gaps around the seams. Scuffs and yellowing are common signs of age, not automatic reasons to pass. More concerning are loose seams, stripped or mismatched screws, and signs that the case has been opened carelessly. These can indicate previous repair, modification, or damage, so ask what happened.
Compare the seller’s photos across the whole listing. A console shown with one screen, color, or button arrangement in one image and a different configuration in another may have been assembled from mixed parts. That doesn’t make it unusable, but it changes what you’re buying. Ask directly whether the shell and internal parts are original.
Ask for evidence before buying online
When you can’t test a console yourself, request photos and video that answer specific questions. A helpful seller should be able to show:
- The front, back, sides, and model information.
- The empty battery compartment and its contact points.
- The console powering on and displaying a game.
- The controls and sound being tested.
- Any cracks, screen flaws, repairs, or modifications described in the listing.
Read the listing carefully for phrases such as “untested,” “powers on,” or “for parts.” They describe different levels of confidence. A console that powers on has not necessarily been tested for working controls, sound, or reliable gameplay. Treat an untested unit as a repair project, not a bargain guaranteed to work.
Check the seller’s return terms and the condition of included accessories. A charger, case, or game may be useful, but only count it as a bonus if it’s compatible and in working condition. Request a photo of everything included so there’s no confusion about what the sale covers.
Match the console’s condition to your goals
Before comparing prices, decide which features you care about: reliable play, an original shell, a particular model, or a complete set with packaging and accessories. A collector seeking an untouched example may care about matching parts and cosmetic condition. Someone who wants to play may prefer a tested, repaired unit with clear disclosure, even if it isn’t original in every detail.
Compare listings for the same model and similar condition rather than treating every Game Boy as interchangeable. Factor in visible defects, missing parts, shipping, and any repairs you expect to need. If the seller can’t answer basic questions or won’t provide reasonable photos, don’t fill in the gaps with optimistic guesses.
A good purchase is one whose condition you understand before it arrives. Choose the model you’ll enjoy using, verify the screen and controls as carefully as the shell, and leave room in your budget for ordinary wear or a future repair. That makes it easier to pass on a questionable listing and choose one that fits your collection.